This behind-the-scenes video snippet shows how I used modeling clay to visualize the lighting for a painting of a snake attacking the nest of baby sauropods. (Link to YouTube)

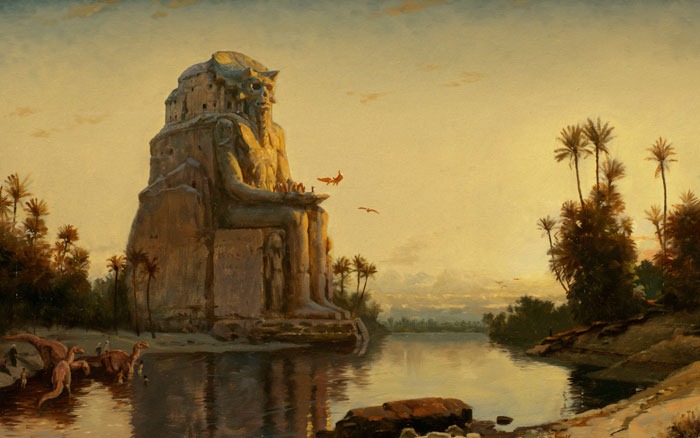
I based the stone figures of Ebulon (Dinotopia: Journey to Chandara
These maquettes take only minutes to make, but they provide a wealth of information. You can turn them to any angle or put them into any real lighting environment. Note for example how the warm light bounces around in the little shadows on the lit side.
I recommend using clay with a light gray or cream tone, which photographs well while allowing you to see the qualities of light and shadow.
After you're finished with a project, you can smoosh it together and use it again on the next job. It's cheaper than oven-hardening polymer clays like Sculpey. Modeling clay is non-toxic and safe for kids.
It is is available from several manufacturers, using closely related trade names:
Plastilina  (cream)
Plastalina (various neutral tones)
Modeling clay (light gray)
You can also get Air-Dry modeling clay , but it won't be reusable after it dries and hardens.
More about making maquettes on my video "How I Paint Dinosaurs"


Thank you for the tip, James. However, I cannot even do these maquettes. I also remember the complex one in "How to paint Dinosaurs". What do you recommend to at least do these maquettes?
ReplyDeleteI was laid up in bed with man flu this morning, and used the opportunity to reread Color and Light. Although the painting was quite a small reproduction, the stone figures of Ebulon really stood out. Having crawled out of bed this afternoon I caught this post and am treated to the process behind the painting!
ReplyDeleteYou seem to have a natural ability to think and feel in three dimensions, which is perhaps why the maquettes come more easily to you than most. It's a useful skill for any artist, but does take a while to develop. I'm inspired to give it a go.
Thanks James.
HNK - Just get some soft wire and some modeling clay and start modeling - you'll learn quickly. If I can do it, you can do it!
ReplyDeleteI've been using maquettes for a few months now, and they have made a world of difference in my painting. I've also been making sculptures for their own sake, and have found that sculpting has improved my grasp of form and helped me break out of some compositional ruts.
Back when I first bought Imaginative Realism, I wanted to try maquettes immediately and had no clay of any kind around. So I smooshed together half a dozen kneaded erasers and kneaded them thoroughly till they were soft. To this day it's my favorite way to do temporary maquettes because I have the big blob right there, it holds its form beautiful, the gray color's good for values and if I stretch it I can get some neat textures in the stretched part.
ReplyDeleteI think Roger Dean must have played with kneaded eraser for some of the texture in his posters, way back in the sixties.
Robert, thanks for that suggestion. I forgot about kneaded erasers. I'm going to give that a try.
ReplyDeleteNewt -- glad to hear that maquettes are working for you.
Gavin, hope you're feeling better. That's amazing synchronicity!
HNK, don't worry. These don't have to be beautiful. Even a very rough lump of clay (or kneaded eraser) can give helpful information.
I want to start doing more fantasy paintings and illustrations. I want to make mauqettes for reference like you. How do I get started.
DeleteHow do a beginner like myself get started in making reference mauqettes.
DeleteThanks for the post James! I've been looking to get some of this clay. How do you store the clay after you are done using it?
ReplyDeleteAnnie, I usually put oil-based clay in a plastic bag to keep dust off of it, but you can just leave it out and it should still be workable.
ReplyDelete