


Dappled light should be felt rather than seen too obviously.
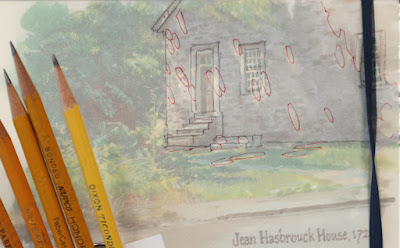
The circular spots of light are projected from the small "pinhole" apertures of the tree canopy, forming a skinny cone of light that gets wider and wider the farther it travels. The higher the tree canopy, the larger the spots.
")
(Image credit OneMansWonder.com)
The circular spots are really projections of the sun itself, proven by the fact that during a solar eclipse, the circular spots become crescent shaped.
When those cones of light intersect a flat surface obliquely, they become elliptical spots of light, consistent in size.
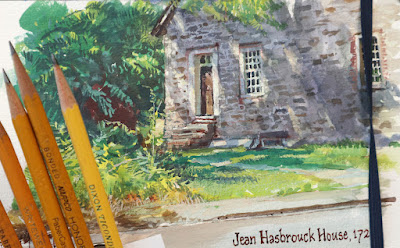
So for this little painting I had to hint at the effect of those elongated spots of light as they splashed across the stonework, the windows, and the door. But I couldn't forget to render the pattern of stonework and mortar running in and out of the pattern of ellipses.
--
Don't miss the new 8.5 minute YouTube video "How to Paint Dappled Light."
4 comments:
I have to ask...How did you make the huge "Department of Art" pencil prop?
An empty can of baked beans and some spare cardboard.
So, did you paint the stone work in a relatively consistent color/pattern and then wash shade over the non-dappled spots?
Susan, I think I painted the shadows first and then added in the stonework.
Post a Comment