


Today I'm pleased to share your design innovations for the Sketch Easel. Thanks to each of you who contributed photos and descriptions.

"As suggested by James, I used 1/4 inch oak plywood and I added solid-dimensional ¼-inch oak at key reinforcement locations.

[Note the white corrugated plastic
----

"The base is an old Manfrotto tripod. The quick-release plate was lost for a long time, but I molded a replacement from my daughter's clay stuff, and it fits exactly. [Note, you could use Magic Sculpt or a piece of hard wood such as oak to create a missing quick release plate --JG]
"The sun shield was a basic car window sunshade

The clamp is a cheap support for iPad and iPhone . You can change the size as you like and it clamp it to your liking on the camera tripod. The slope is also adjustable.
At the end of my painting session, I can just roll it into itself so it can fit in a pocket. I also added a folding lid support bracket , which allows me to set the angle between the palette board and the paper board. I fixed also a extruded aluminum edging on the tray so that I can put my most useful pencils here while working.
I always have one or two clamps around the feet of the tripod, if I paint on moleskine book to keep it open. If I paint on a single piece of paper, I like to fix it with some mini adhesive tape. My palette attaches to the palette with a neodymium magnet.

I also made myself a pouch that I put around my waist with a common leather belt. I wear it all the time: to go fetch my daughter at the end of the school, for going to the restaurant. It is not bigger than a women purse, but I made it exactly for what I want to have on hand.
So it contains a lot of stuff:
Some watercolors pencils, a large range of travel brushes, water brush, ink brush, mini adhesive tape, a little water bottle on the side, erasers, a little wooden board on the back pocket to support the paper if I have not got my tripod, some pieces of watercolor paper, a regular ballpoint pen, pencils, and of course, my little round palette with watercolors. There is even a pocket for my phone on the front (which is not on the picture because I used it for the photo).
On the belt itself, I put my collapsible bucket . It doesn't take up much space, but when put in shape, it is large enough to contain plenty of water and I can hang it on the tripod's neck.
----
--------
Mark Fiske

The cigar box measures 6.5" x 11".

I added some hardware to support the lid when it is opened.

On the bottom of the cigar box, I have added a 1/4-20 t-nut for a standard tripod mount and some rubber feet when sitting on a table top.


The cigar box measures 6.5" x 11".

I added some hardware to support the lid when it is opened.

On the bottom of the cigar box, I have added a 1/4-20 t-nut for a standard tripod mount and some rubber feet when sitting on a table top.

On the inside, I created a custom watercolor block to fit inside the lid and an extra panel of wood that serves as another support for a palette and brushes.

The inside of the box will hold a number of travel size palettes.

Here are a few different set ups.

Here is the rig all set up, "in the wild."

The inside of the box will hold a number of travel size palettes.

Here are a few different set ups.

Here is the rig all set up, "in the wild."
Amanda Williams


More pictures and details are on Amanda's web page.
----
Robb Gibbs

"Here's some shots of my homemade easel.

"The pencil tray on the bottom is meant to fold inward while the easel is folded up since the hinges don't allow the two sides to fold flat. So it's a support.

"I can't wait for your new video to get some ideas for a new version to build!"
----
Judy Palermo

"I first made this because I like a vertical paper palette, and that is held on by clips. I have a little plastic paint holder to squeeze paints underneath, that's secured with Velcro; nothing falls off, and it has a cover, so leftover paint can be stored for a couple of days. With clips I hang a plastic condiment jar, for a nice lightweight brush cup. A couple of minutes to setup, and I'm painting!
"But the main gem is the little shelf I made, from a metal whisky tin. I attached 2 small clothing hooks to the back, and it hangs on the easel legs, handy for a medium cup, some tubes of paint etc.
"But the main gem is the little shelf I made, from a metal whisky tin. I attached 2 small clothing hooks to the back, and it hangs on the easel legs, handy for a medium cup, some tubes of paint etc.
"This is pretty bare-bones, but the low cost of it suits me for traveling. Everything is on a common aluminum travel easel. This one is a cheapie, I only got this because it collapses down to 14", so it doesn't stick out of the backpack so much. The other ones, like Winsor Newton, are built much better but they only pack down to 22".
"I'm 5'4", and this gets to the height I need, but if you are taller you will probably have to go with the bigger aluminum frames."

"Well this was definitely a new experience for me.

Dmitry Kharitonov


"At first the project started as just two pieces of plywood connected with piano hinge but it starts to evolve quite fast, certainly not without help of already created content by people all around the world and especially you James, in the next year i'll try to improve it even more.


"I think there are still a large amount of things and upgrades that we can make.


A few things that I noted - everything was built around hinges, their size, type and reliability, and nothing should be in the way of your hand and tools, even hinges."
Al Granberg
"I built this sketch easel based on the info from your blog. I plan to make a few more, so I look forward to getting your new DVD.

"I built this sketch easel based on the info from your blog. I plan to make a few more, so I look forward to getting your new DVD.

"I used 3/8 plywood, 12” wide by 8” deep. I added a lip to keep pencils from rolling off. Holes are cut for magnets and a T-nut mounting flange that will accept the threaded screw from a quick-release tripod mounting plate.

"I used Forstner bits to cut clean, precise and flat holes. The Spade bit
 (on left) can tear and splinter the edges of the holes.

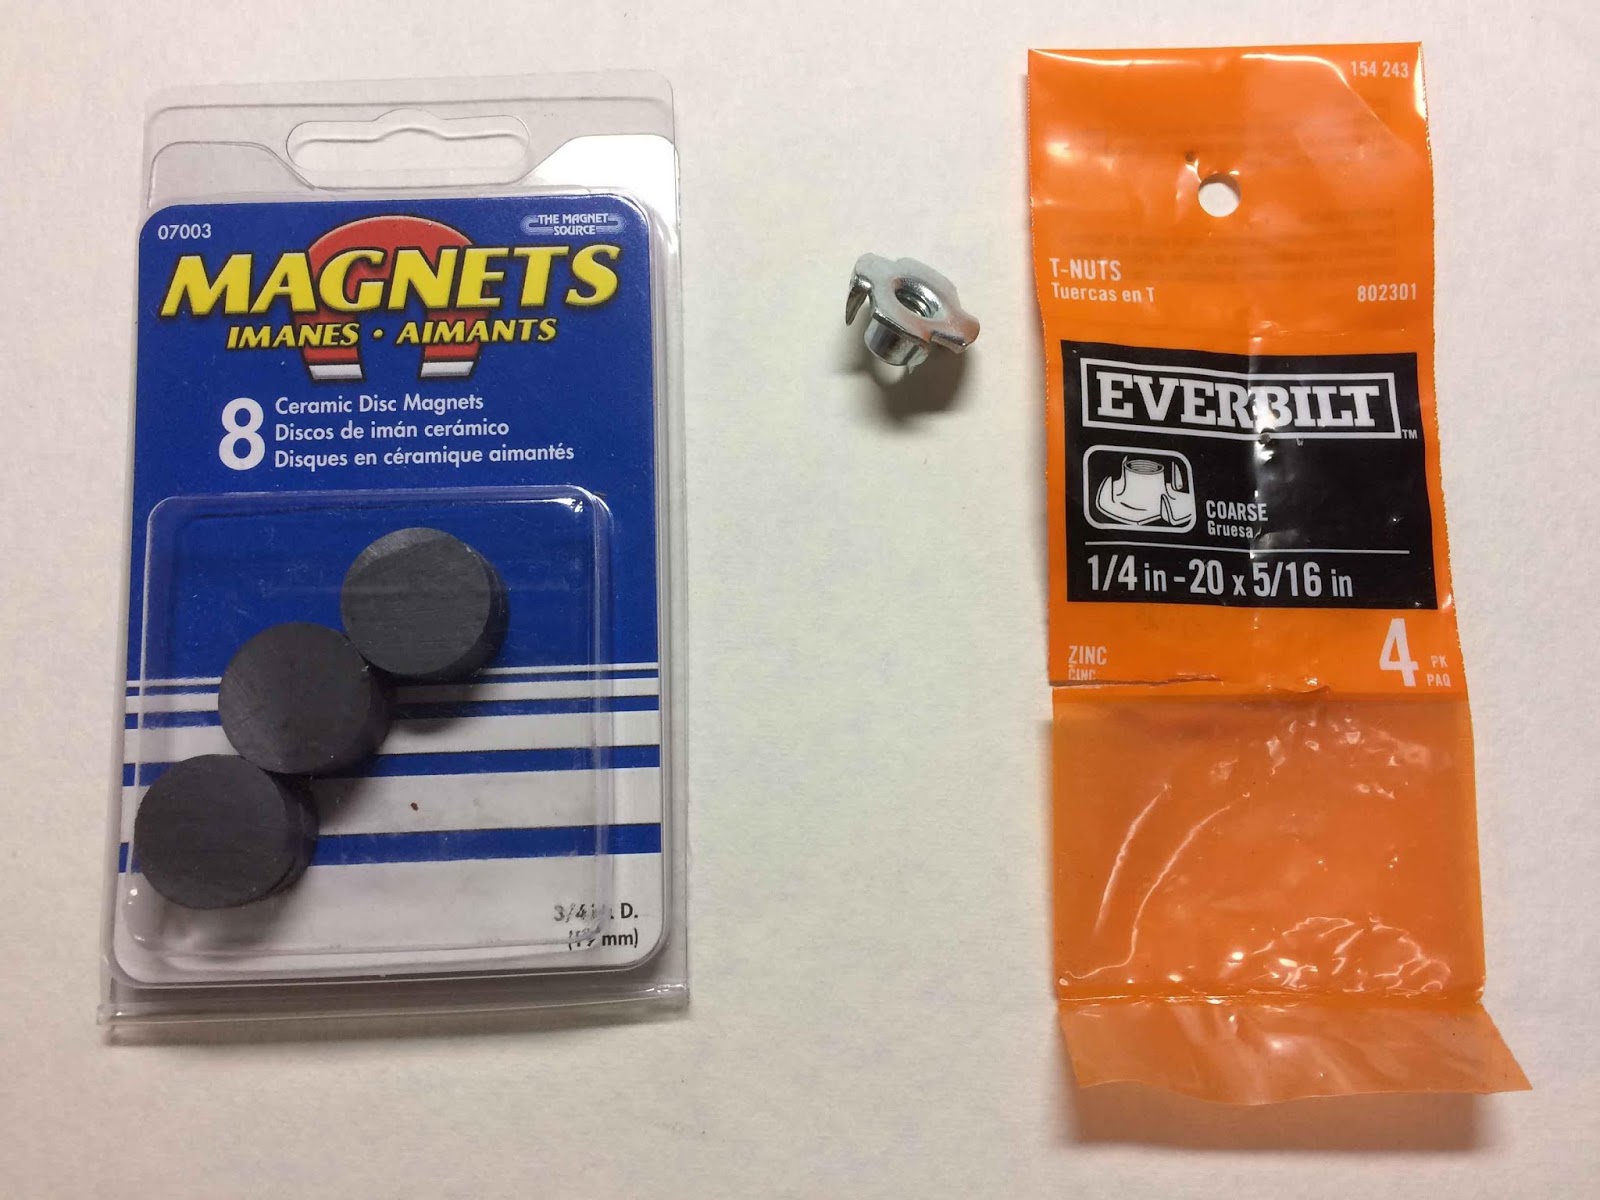
"The 3/4 inch ceramic disc magnets and 1/4" x 20 Pronged Tee Nut
 come in packages. The magnets I used are 3/4” wide x 3/16” thick and worked fine with 3/8” plywood. However, there might be a problem using these on 1/4” plywood, since you would have to drill a hole precisely 3/16” deep, leaving about 1/16” left, before drilling completely through the plywood. This might be difficult even for those using a drill press. So, your magnets, at 1/16” thick, are a much better choice for 1/4” plywood.

"The magnets are glued into the holes with a few drops of super glue. The slightly countersunk hole is ready for the T-nut that will driven in with a hammer and wood dowel.

"Here’s the finished easel after a few seasons of use. Two T-nuts are used for additional mounting options.

"Here’s the easel on location. Discarded applesauce cups with glued washers are used for water containers. A plastic watercolor palette fits snugly between the hinges and lip.

"Here’s the easel set up for casein. The extra height of the easel allows the use of Pentalic 7" x 10" watercolor field book . I use an ancient Grumbacher metal watercolor palette. The magnets hold well, but the lip does not allow the palette to lay flat. I’m looking for a metal lid as a palette that will fit the space."

Thanks again, everybody. I hope I have included everything you sent me. If I overlooked your email, my apologies. Send me a reminder, and I'll include yours in the next post.
Don't miss the previous GurneyJourney posts: "Your DIY Pochade Easel Designs" and "Sketch Easel Materials."

"I used Forstner bits
"The 3/4 inch ceramic disc magnets

"The magnets are glued into the holes with a few drops of super glue. The slightly countersunk hole is ready for the T-nut that will driven in with a hammer and wood dowel.

"Here’s the finished easel after a few seasons of use. Two T-nuts are used for additional mounting options.

"Here’s the easel on location. Discarded applesauce cups with glued washers are used for water containers. A plastic watercolor palette fits snugly between the hinges and lip.

"Here’s the easel set up for casein. The extra height of the easel allows the use of Pentalic 7" x 10" watercolor field book

Edit: Petra Baltrusch shared her version. She says: "The metal palette is a pencil box lid, just like yours. I bought 3 of your DVDs and am just trying out casein paints. I am also testing a sunshade out of lightweight foamboard."
----Thanks again, everybody. I hope I have included everything you sent me. If I overlooked your email, my apologies. Send me a reminder, and I'll include yours in the next post.
Don't miss the previous GurneyJourney posts: "Your DIY Pochade Easel Designs" and "Sketch Easel Materials."
-----
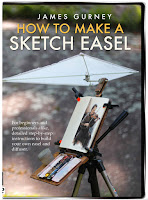 UPDATE: I have released a video showing how to make the sketch easel plus four different diffuser designs. It explains what tools and materials you'll need, and demonstrates all the steps.
The HD download of "How to Make a Sketch Easel" is more than an hour long and costs only $14.95.
It's available now from Gumroad and Sellfy. The DVD version is available for $24.50, and it includes a slide show. The DVD is also available on Amazon.
There is also a Facebook group called "Sketch Easel Builders" where you can share your build or ask questions of fellow builders. It's free to join.
----
Previously: Lightweight Sketch Easel
11 comments:
I am really enjoying this series, and I look forward to getting your DVD. -RQ
(The images for Al Granberg's easel are not appearing on my Mac, and the 'View Image' command gives a: "403. That’s an error" message from Google.)
Thanks for letting me know, Roberto. I've re-uploaded Al Granbert's images (rather than virtually hosting from another site), so hopefully they'll show up for you now.
Only one comment on one of the best blog posts ever? Must be a Holiday and everyone's out. Great post! Thanks so much!
I'm tickled pink my homemade easel is featured here- proud to be part of the "maker community". It's cool too, to see other ideas that I can add on to my own. Thanks for making a watering hole where artists can convene, converse, and lift each other up!
I have to echo what Judy P. has said here. Thanks again, James, for all that you do!
Judy P., great use of the pegboard. I have seen a lot of cool 3d printed pegboard accessories out there. I'm thinking you could find some interesting pieces that could hold up panels and I have also seen cup holders. Take a look at Thingiverse HERE . Your portfolio is outstanding as well. :)
Hey thanks Mark- Thingiverse looks like a place to daydream little gizmos, and make them real!
Also thanks for checking out my art too, James makes a nice neighborhood, doesn't he?
Thanks for another great video loaded with tips for painting on location!
Thought I would mention a simple modification I'm making to your kite stick diffusers. I'm using your suggestion of a cheap white nylon kite. At 30 inches kite sticks are too long to fit into my day pack so I ordered ferrules from Good Winds Kites so that I can cut the struts in half for stashing in my pack. When I'm ready to set up I can rejoin them to full length, using the ferrules… like assembling two sections of a fishing rod. Set up is almost as quick and the shorter fiberglass rods are easier to transport.
Thanks again for your generosity in sharing your experience and ideas!
Hey, Al, thanks for field testing the white kite idea. If you'd like to send me photos of how it goes together, I can do a post in future to show people that option. That goes for other folks who have built variations; send me 2 or 3 photos of your rig with a sentence each and I'll try to include your build in a future update.
I have made an almost exact copy of Mr. Gurney's, which works as well as I could hope for.
A great source of wood is the 5 ply birch plywood available at Michael's and other hobby and art stores . Much stiffer for weight and thickness than regular plywood. Available in various precut sizes.
Have you seen this I thought it has potential: http://stablo.fr/. Doesn’t seem to be for sale though. Put the tripod attachment on that...
Just waiting for my hinges and white nylon to arrive. Bought my plywood at Michael’s already, I can’t wait to get started on my own easel. Thanks Mr. Gurney and everyone for the inspiration,
Darcy, thanks, no I hadn't seen that before. Seems like a nice way to hold the book open flat, though the left hand could eventually get fatigued.
Post a Comment